> ## Documentation Index
> Fetch the complete documentation index at: https://help.notis.ai/llms.txt
> Use this file to discover all available pages before exploring further.
# Onboard
> Walk through the first conversation with Notis: set your preferences, connect the apps you already use, and send the first useful request.
Onboarding is the first conversation you have with Notis after signup. It teaches Notis enough about you, your tools, and your preferred workflows to make the rest of the product feel personal from the first message.
You do not need to configure everything manually in the portal. Notis will ask one question at a time, generate the right connection links when an app needs access, and guide you back to setup if the conversation drifts.
## What onboarding covers
Confirm your language, name, role, time zone, and where you heard about Notis.
Connect the tools Notis should work with, based on the use cases you selected at signup.
Try a reminder, note, task, post, meeting, CRM update, bug report, or expense capture.
## Start the conversation
1. Visit [notis.ai](https://notis.ai) and click **Start for free**
2. Enter your email address and phone number
3. Pick a channel: we recommend [Telegram](/channels/telegram) on mobile and the [Notis portal](/channels/manager) on desktop
4. Press **Start** in the chat and validate your phone number
5. Tell Notis you are ready to get started
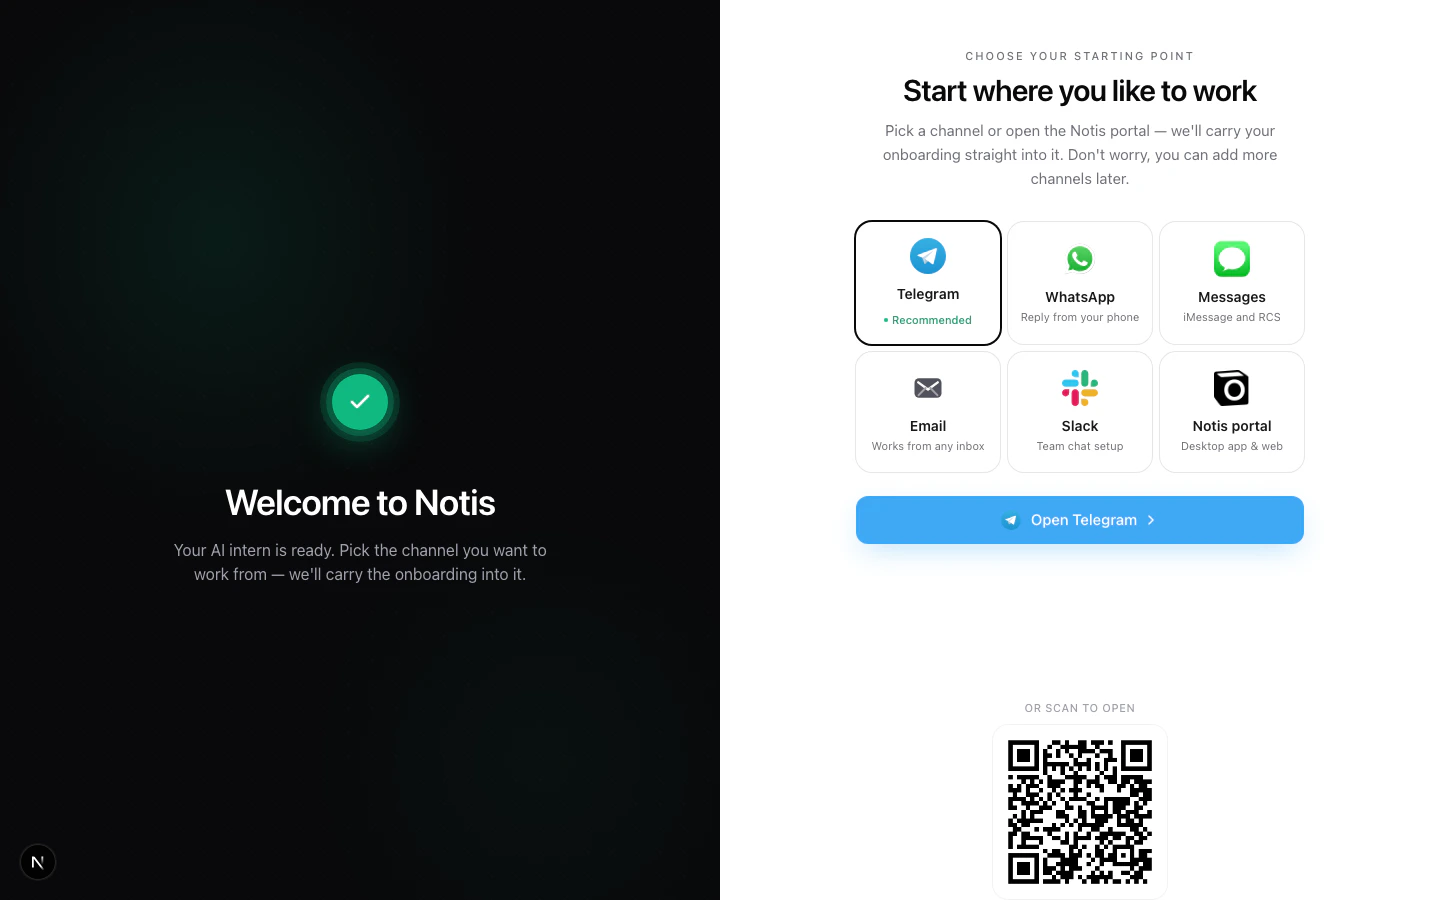 Notis may infer details such as your likely language or time zone from your phone number. It will ask you to confirm before saving them.
## Step 1: Set your preferences
Notis starts with the basics it needs to personalize replies and schedule work correctly:
* **Language** - Notis suggests a likely language and asks you to confirm or choose another one.
* **Name** - Notis confirms what to call you.
* **Role** - Notis asks what you do so examples and suggestions match your work.
* **Attribution** - Notis asks where you heard about it.
* **Time zone** - Notis confirms the time zone it should use for reminders, meetings, and schedules.
After that, Notis may offer a small test, such as creating a reminder from a voice note. This checks that your time zone is correct and gives you a quick feel for how requests work.
## Step 2: Connect your apps
Notis then asks what apps you already use for the goals you selected at signup. The exact apps depend on your use case:
| Use case | Common apps to connect |
| ----------------- | ------------------------------------------------------------ |
| Task management | Todoist, Asana, ClickUp, Monday.com |
| Social media | LinkedIn, X, Instagram, Facebook, YouTube, Typefully |
| Meetings | Google Calendar, Outlook Calendar, Zoom, Cal.com |
| CRM updates | HubSpot, Pipedrive, Salesforce |
| Bug reporting | Linear, Jira, GitHub Issues |
| Notes and writing | Google Docs, Apple Notes, Evernote, Substack, Beehiiv, Ghost |
| Expenses | QuickBooks, Xero, Dext |
When an app needs authentication, Notis sends a secure connection link and waits while you finish the external flow. If you have trouble, Notis can also send a signed portal link to manage integrations directly.
### Connecting Notion
Notion has a special onboarding path because you can either start fresh or connect your existing workspace:
1. **Use the [Notis Second Brain template](/notion/second-brain)** - easiest path if you want a clean structure with good defaults.
2. **Use your own Notion system** - best if you already have databases and pages you want Notis to use.
If you choose your own system, select the Notion pages that contain the databases Notis should access. See [Connect Notion](/notion/connect-notion) for the full walkthrough, including authorizing Notis and adding a second account.
## Step 3: Finish and try the first task
Once your basics are saved and your key apps are connected, Notis finishes the formal onboarding flow and unlocks the full assistant experience.
The last step is to send a real request based on what you set up. Try one of these:
> *"Remind me today at 5 PM to send the proposal."*
> *"Turn this voice note into a task list in Todoist."*
> *"Draft a LinkedIn post from this idea."*
> *"Schedule a meeting with Sarah next week about the Q2 launch."*
> *"Log this customer call in HubSpot."*
## What's next
* [Create an automation](/get-started/create-an-automation) - let Notis run on a schedule, webhook, or trigger
* [Create a skill](/get-started/create-a-skill) - teach Notis your voice, formats, and workflows
* [Channels reference](/channels/channels-compared) - compare where you can talk to Notis
Notis may infer details such as your likely language or time zone from your phone number. It will ask you to confirm before saving them.
## Step 1: Set your preferences
Notis starts with the basics it needs to personalize replies and schedule work correctly:
* **Language** - Notis suggests a likely language and asks you to confirm or choose another one.
* **Name** - Notis confirms what to call you.
* **Role** - Notis asks what you do so examples and suggestions match your work.
* **Attribution** - Notis asks where you heard about it.
* **Time zone** - Notis confirms the time zone it should use for reminders, meetings, and schedules.
After that, Notis may offer a small test, such as creating a reminder from a voice note. This checks that your time zone is correct and gives you a quick feel for how requests work.
## Step 2: Connect your apps
Notis then asks what apps you already use for the goals you selected at signup. The exact apps depend on your use case:
| Use case | Common apps to connect |
| ----------------- | ------------------------------------------------------------ |
| Task management | Todoist, Asana, ClickUp, Monday.com |
| Social media | LinkedIn, X, Instagram, Facebook, YouTube, Typefully |
| Meetings | Google Calendar, Outlook Calendar, Zoom, Cal.com |
| CRM updates | HubSpot, Pipedrive, Salesforce |
| Bug reporting | Linear, Jira, GitHub Issues |
| Notes and writing | Google Docs, Apple Notes, Evernote, Substack, Beehiiv, Ghost |
| Expenses | QuickBooks, Xero, Dext |
When an app needs authentication, Notis sends a secure connection link and waits while you finish the external flow. If you have trouble, Notis can also send a signed portal link to manage integrations directly.
### Connecting Notion
Notion has a special onboarding path because you can either start fresh or connect your existing workspace:
1. **Use the [Notis Second Brain template](/notion/second-brain)** - easiest path if you want a clean structure with good defaults.
2. **Use your own Notion system** - best if you already have databases and pages you want Notis to use.
If you choose your own system, select the Notion pages that contain the databases Notis should access. See [Connect Notion](/notion/connect-notion) for the full walkthrough, including authorizing Notis and adding a second account.
## Step 3: Finish and try the first task
Once your basics are saved and your key apps are connected, Notis finishes the formal onboarding flow and unlocks the full assistant experience.
The last step is to send a real request based on what you set up. Try one of these:
> *"Remind me today at 5 PM to send the proposal."*
> *"Turn this voice note into a task list in Todoist."*
> *"Draft a LinkedIn post from this idea."*
> *"Schedule a meeting with Sarah next week about the Q2 launch."*
> *"Log this customer call in HubSpot."*
## What's next
* [Create an automation](/get-started/create-an-automation) - let Notis run on a schedule, webhook, or trigger
* [Create a skill](/get-started/create-a-skill) - teach Notis your voice, formats, and workflows
* [Channels reference](/channels/channels-compared) - compare where you can talk to Notis