

Step 1 — Open the portal
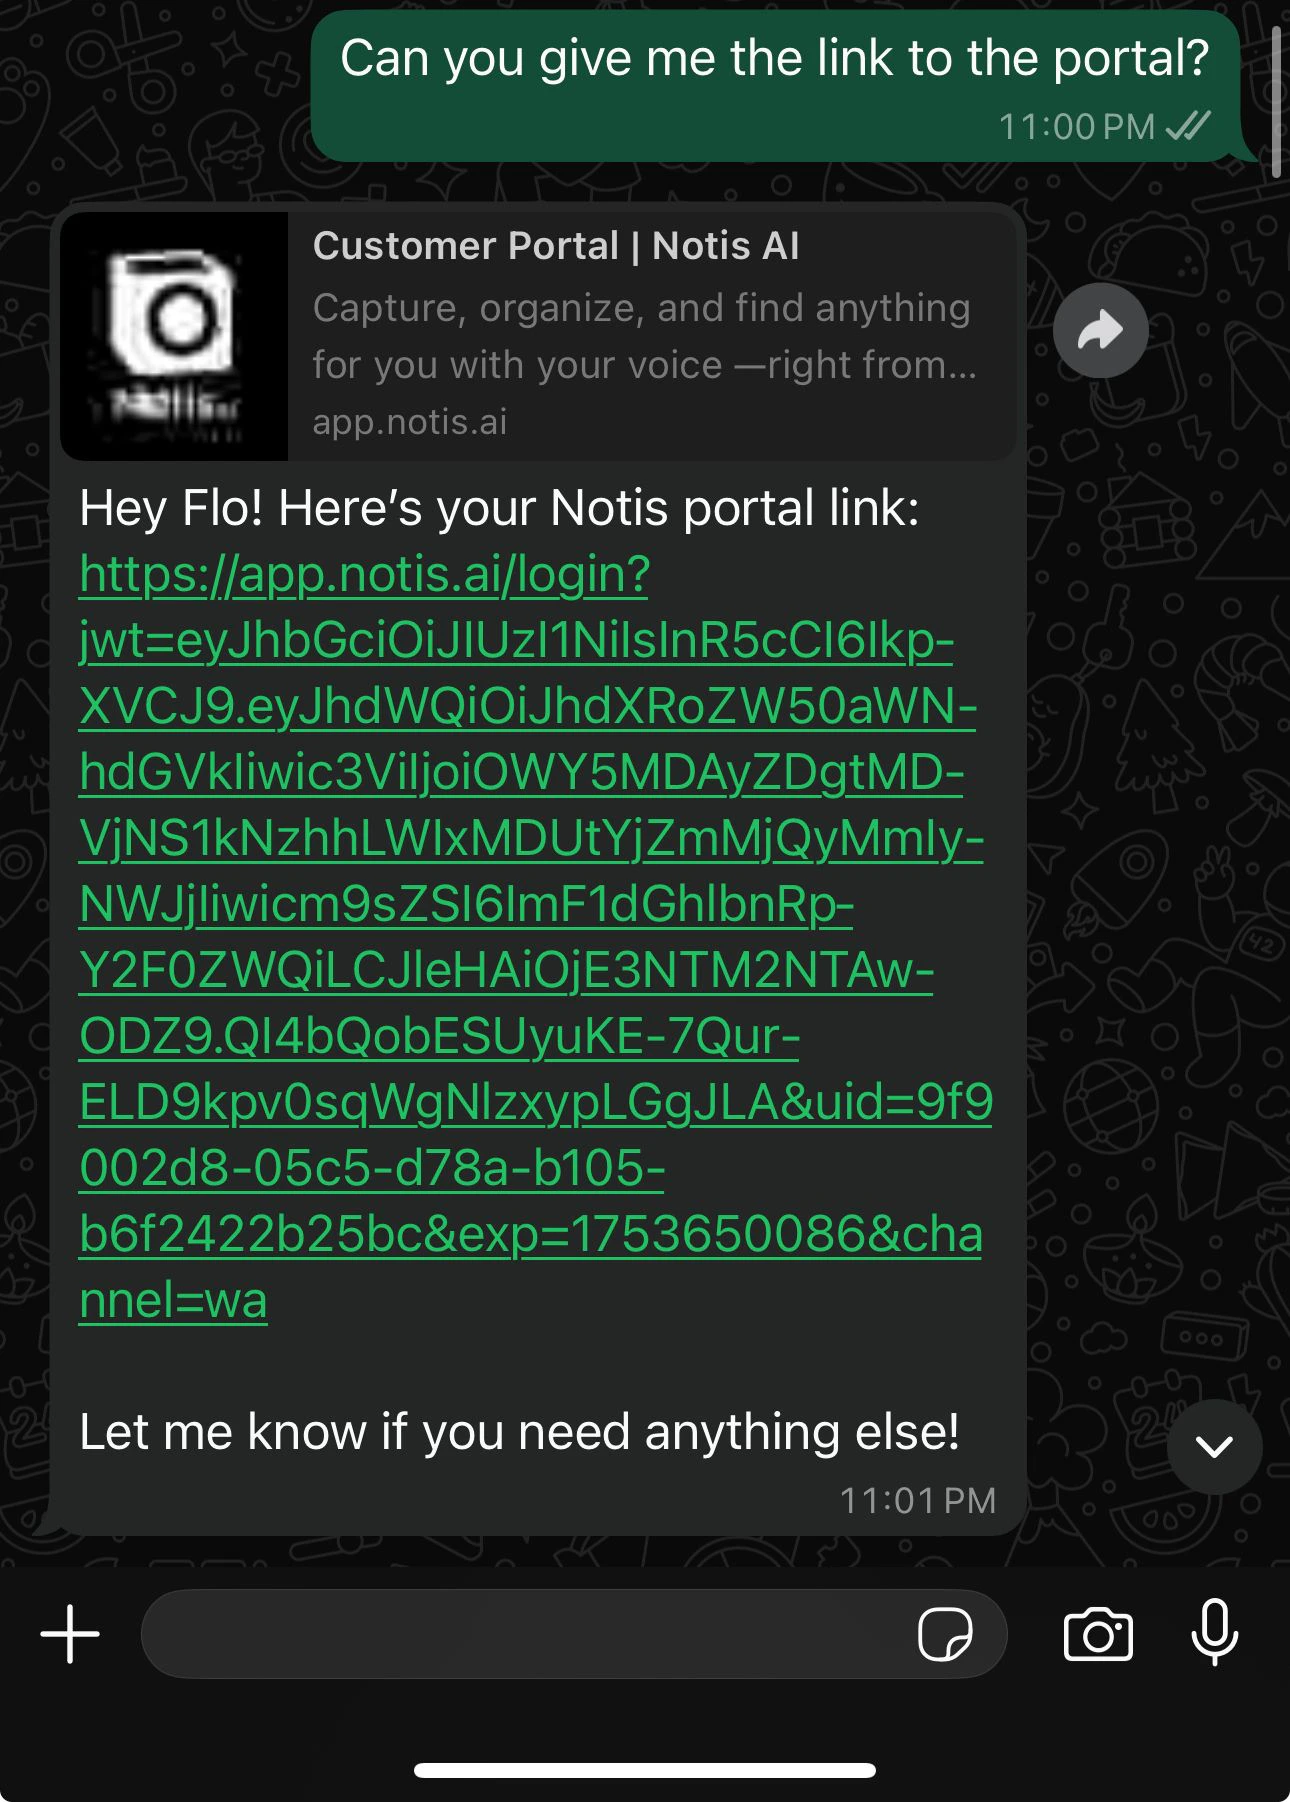
Send Notis a message asking for your portal:“Send me the link to my portal.”On Telegram, you can also use the
/portal command from the Menu button.
Step 2 — Run the Notion authorization flow
- Click the portal link Notis sent you
- Open Integrations, find Notion, click Connect
- Pick one of the two paths below
Option A — Use the Notis Second Brain template (recommended)
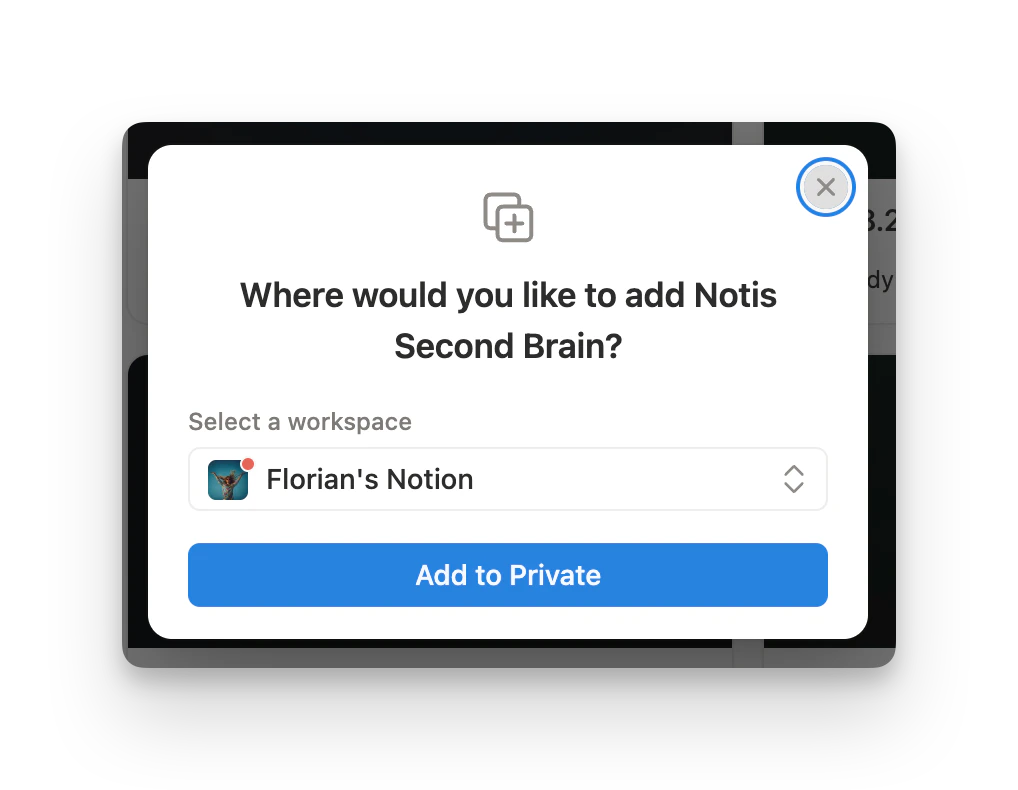
The fastest path. You’ll get a clean, opinionated structure that works with every Notis feature out of the box.- In the Notion authorization screen, choose Use a template provided by the developer
- Select your workspace and click Add to Private to duplicate the Notis Second Brain template
- Return to Notis to confirm the connection
- Notis syncs your databases automatically
Option B — Use your existing Notion setup
If you already have a Notion structure you love (Easlo, Thomas Frank, your own template, etc.):- In the Notion authorization screen, choose Select pages to share with Notis
- Pick the pages and databases you want Notis to access
- Notis will have access to all subpages and databases within the pages you select
Adding a second Notion account
You can connect multiple Notion accounts to Notis — useful if your work and personal lives sit in different workspaces.- From the portal Integrations page, click Add Account on the Notion row
- Authorize the second workspace and label it (e.g. “work”, “personal”)
- The first account auto-labels as “default”
“Save this note to my work Notion.”
“Add this contact to my personal CRM.”If you don’t specify, Notis asks. See Integrations for the full multi-account workflow.
What’s next
- Second Brain template tour — what each database is for
- Database and property instructions — teach Notis how each database should behave
- Turn any database into an AI agent — the pattern behind every Notis workflow