Notis is unique because it deeply adapts to your Notion workspace. This page walks you through authorizing Notis, picking between the Second Brain template and your own setup, and managing access over time.
Step 1 — Open the portal
Send Notis a message asking for your portal:“Send me the link to my portal.”On Telegram, you can also use the
/portal command from the Menu button.

Step 2 — Run the Notion authorization flow
- Click the portal link Notis sent you
- Open Integrations, find Notion, click Connect
- Pick one of the two paths below
Option A — Use the Notis Second Brain template (recommended)
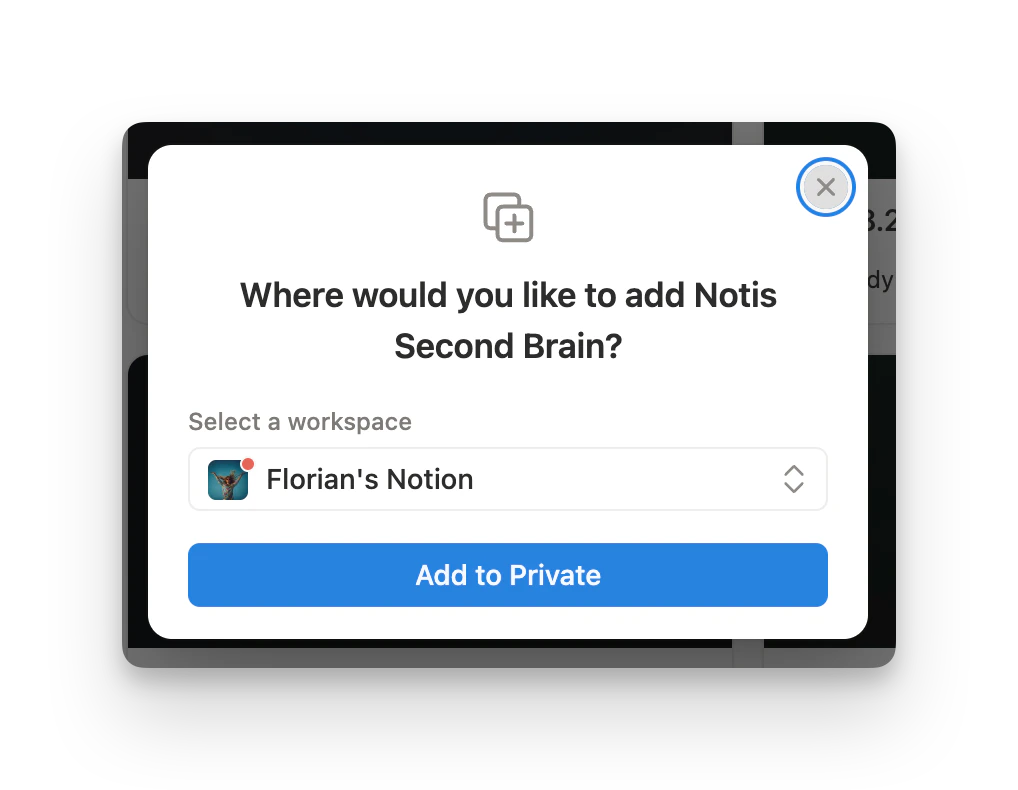
The fastest path. You’ll get a clean, opinionated structure that works with every Notis feature out of the box.- In the Notion authorization screen, choose Use a template provided by the developer
- Select your workspace and click Add to Private to duplicate the Notis Second Brain template
- Return to Notis to confirm the connection
- Notis syncs your databases automatically
Option B — Use your existing Notion setup
If you already have a Notion structure you love (Easlo, Thomas Frank, your own template, etc.):- In the Notion authorization screen, choose Select pages to share with Notis
- Pick the pages and databases you want Notis to access
- Notis will have access to all subpages and databases within the pages you select
Adding a second Notion account
You can connect multiple Notion accounts to Notis — useful if your work and personal lives sit in different workspaces.- From the portal Integrations page, click Add Account on the Notion row
- Authorize the second workspace and label it (e.g. “work”, “personal”)
- The first account auto-labels as “default”
“Save this note to my work Notion.”
“Add this contact to my personal CRM.”If you don’t specify, Notis asks. See Integrations for the full multi-account workflow.
What’s next
- Second Brain template tour — what each database is for
- Database and property instructions — teach Notis how each database should behave
- Turn any database into an AI agent — the pattern behind every Notis workflow